
LED Net Lights – Connecting Instructions
Our LED Net Lights come in static and twinkling and are idea for covering large areas such as hedges and rockeries.
There are 2 different types of Net lights to choose from, Static and Twinkling. The Static and Twinkling Net lights come in two colours which are Ice White and Warm White.
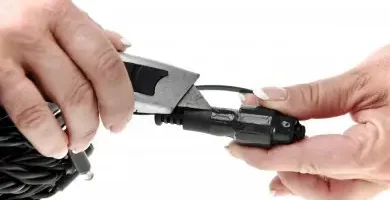
Remove the end cap at the end of the first set of String lights, using a sharp knife (or similar) cut away the shrink tube and unscrew end cap.
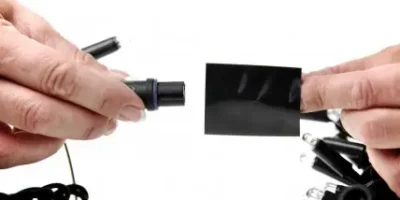
To connect the extra set, take the spare shrink tube (which is in the box) and slide over the connector as shown above.
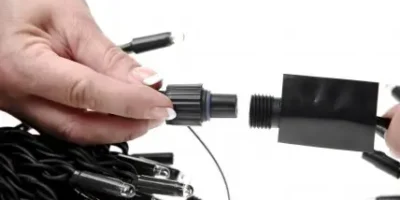
Connect the two sections of lights together (male and female ends) as shown in the above picture. Switch the lights on to see if they are working. If one section is not lit then unscrew connector and turn one connector 180 degrees, the lights will now be lit.
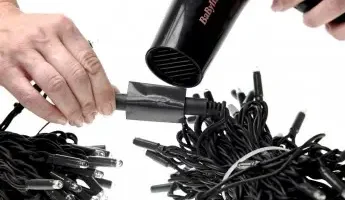
Now that the lights are connected and working, seal the shrink tube over the connector using a hairdryer. The string lights are now ready to be placed in situ, we would recommend using tie wraps for securing these to outside trees and bushes, leaving enough cable to allow for growth of the tree so the lights will not be stretched.
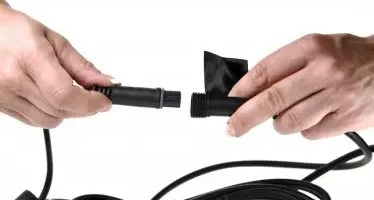
Connecting extension cable: If you need an extra length to reach your power source we stock 5mtr extension cables: Follow step 2 and between the plug lead and first string of lights connect the extension and then follow Step 5, securing the shrink tube.
Installation couldn’t be easier. If you wish to extend your set then you need to purchase an additional light string and follow our easy to use instructions. Do not connect more than the maximum sets indicated on the side of the box or on instruction manual Still unsure? Contact us via email at info@lights4you.co.uk or call us on 01257 269885 where one of customer service team will be happy to help